The convenience and accessibility of using an iPhone are highlighting the rise of mobile photography and its professional applications. Even in professional settings, this occurs.
As a result of this widespread use of photography through the use of smartphones, anyone can take professional-quality photographs. Now, you may think, how to take a professional headshot with an iPhone?
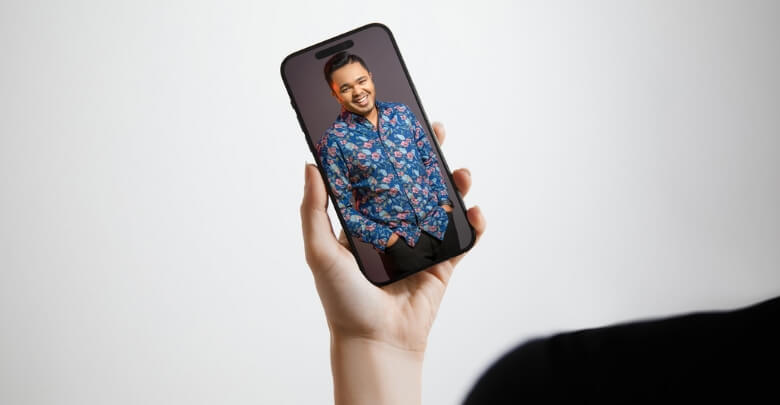
The first step is to find an area with soft, natural light, free of harsh shadows. Ensure you’re dressed appropriately and your hair and makeup are neatly done. Use the iPhone’s portrait mode or third-party camera apps to capture high-quality, professional-looking headshots.
With practice and attention to detail, you can create headshots that rival those taken with traditional cameras. Follow the rest of this article for more detailed tips and techniques.
Why Choose Your iPhone for Headshots?
iPhones are excellent choices for headshots due to their convenience and impressive camera capabilities. The iPhone is always with you, making it easy to capture professional-quality photos anytime, anywhere. Through portrait mode and editing apps, your iPhone can produce stunning images that rival professional cameras.
If you are not tech-savvy enough, you can hire headshot photographer in Bangladesh. However, with your iPhone, you can take multiple shots without additional cost. You can experiment with different poses, lighting, and angles until you get the perfect shot.
Furthermore, the iPhone’s user-friendly interface ensures even those with minimal photography experience can achieve excellent results. You can create professional headshots with your iPhone for social media, job applications, or personal branding easily and inexpensively.
How to Take a Professional Headshot With an iPhone?
A growing trend in mobile photography has made the iPhone a popular headshot tool. Capturing a professional headshot with an iPhone is convenient and accessible.
With advanced camera features and editing apps, the iPhone produces impressive, high-quality images. Now, we’ll show you how to take a professional headshot with an iPhone, guiding you through each step to achieve professional results.
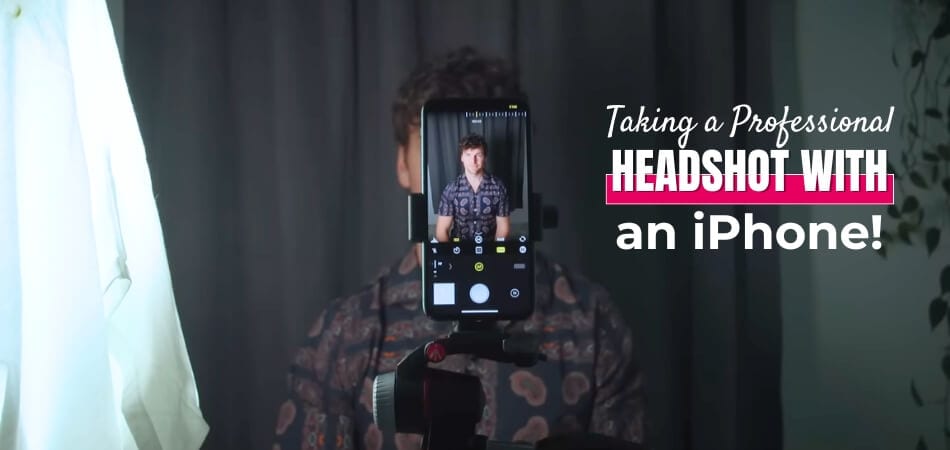
Step 1: Finding the Right Lighting
For headshots, natural light is your best friend. Choose a well-lit area, preferably near a window, to capture soft, even light. Avoid harsh, direct sunlight that can create unflattering shadows and highlights on your face.
Outdoor locations work well, too, especially during golden hour. This period, just after sunrise or before sunset, offers gorgeous, flattering light. If indoors, position yourself, so the light falls evenly across your face without harsh contrasts.
Step 2: Preparing Yourself
Dress appropriately for the headshot you need. Opt for simple, solid-colored clothing that doesn’t distract from your face. Pay attention to grooming and ensure your hair and makeup are neatly done for a polished look.
You can use a professional headshot to represent appearance and personality. Smiling naturally in your headshot can make you appear approachable and friendly, which is essential in many business contexts.
Step 3: Framing the Shot
A professional headshot must be composed properly. Center yourself in the frame, with your head and shoulders taking up most of the space. Leave some room above your head and avoid too much space around you.
Angles can dramatically change your photo’s perception. Shoot slightly above eye level for a flatter perspective. Keep the camera steady, using a tripod or a stable surface to avoid blurry shots.
Step 4: Mastering iPhone Camera Settings
Your iPhone’s portrait mode is ideal for headshots. This mode creates a blurred background effect, focusing attention on your face. Adjust the lighting options within portrait mode to enhance your shot quality.
Third-party camera apps offer additional features. These apps provide more control over exposure, focus, and white balance. Experiment with different apps to find the one that perfectly suits your needs.
Step 5: Utilizing Accessories
The use of accessories can enhance the quality of your headshot photography. Use a tripod to keep your iPhone steady and eliminate camera shake. A remote shutter or timer allows you to take photos without touching the phone, ensuring stability.
Reflectors help balance the light on your face. You can use a professional reflector or a simple white poster board. Position the reflector to bounce light onto shadowed areas, creating an even, well-lit portrait.
Step 6: Taking the Shot
When taking a headshot, timing, and patience are essential. Take multiple shots to capture various expressions and angles. Review each photo critically, paying attention to details like lighting, focus, and composition.
Take breaks between shots to adjust your pose and refresh your expression. This ensures you stay relaxed and natural. Remember, the goal is to capture a genuine, professional representation of yourself.
Step 7: Reviewing and Selecting Your Best Shots
After your session, review all the photos. Select the ones that most accurately represent you professionally. Look for well-lit, sharp images with natural expression and pleasing composition.
Your photos can be enhanced by editing. Use apps like Snapseed or Lightroom to adjust brightness, contrast, and color balance. Keep your edits subtle to maintain a natural, professional look.
Step 8: Polishing Your Headshots
Post-processing is the final step. Fine-tune your headshots to polish them for professional use. Focus on enhancing the natural look without overdoing edits.
With these steps, you can confidently take professional headshots with your iPhone. Practice and attention to detail will help you achieve excellent results. Now, you’re ready to create headshots that rival traditional cameras.
Headshot Post-Processing: What Are the Editing Apps?
You need editing apps to polish your headshots for creating a professional appearance. These apps enhance brightness, contrast, and color balance. The right app can subtly refine your images. Here are some top editing apps to consider for headshot post-processing:
- Snapseed: A versatile app with powerful editing tools, including selective adjustments and filters, for precise control of your photos.
- Adobe Lightroom: Offers advanced editing features, including exposure, color correction, and presets, making it suitable for professional-level adjustments.
- VSCO: Combines editing tools with stylish presets, allowing you to create a consistent, polished look for your headshots.
- Facetune: Ideal for retouching, it helps smooth skin, whiten teeth, and remove blemishes, ensuring a flawless appearance.
- Afterlight: Provides a range of tools and filters, making it easy to enhance your headshots with minimal effort.
- Darkroom: User-friendly interface with powerful editing capabilities, including curves and color adjustments, for fine-tuning your images.
- PicsArt: Offers a wide array of tools and creative features, suitable for adding unique touches to your headshots.
- TouchRetouch: Specializes in removing unwanted objects and imperfections, helping you clean up your images seamlessly.
- Prisma: Transforms photos into artwork with various filters, offering a creative spin on traditional headshot editing.
- Pixelmator: Combines powerful editing tools with an intuitive interface, suitable for both beginners and advanced users.
With these apps, you can achieve professional-quality headshots using your iPhone.
Methods of Analyzing Your Best Shots
After taking your headshots, analyzing your most impressive shots is fundamental to selecting those that stand out. This process ensures that you choose images that truly represent your professional persona. Here are some effective methods for analyzing your most effective shots.

Reviewing Lighting and Exposure
The right lighting and exposure are essential for a professional headshot. Choose an image that has even lighting across your face. Avoid shots with harsh shadows or blown-out highlights that detract from quality.
Evaluating Composition and Framing
Composition plays a significant role in the overall impact of your headshot. Ensure your face is centered with some space above your head. Ensure the framing emphasizes your head and shoulders without wasting space.
Assessing Facial Expressions
A natural and confident expression can make a huge difference in a headshot. Your expression should appear genuine and relaxed in the photographs you choose. Smiling can make you appear approachable, enhancing your headshot’s professional appeal.
Checking Focus and Sharpness
Focus and sharpness are critical to your headshot quality. You should ensure that your eyes are sharp, capturing clear details. Avoid blurry or out-of-focus images, as they appear unprofessional.
Considering Background and Environment
The background should complement, not distract from, your headshot. Clean, uncluttered backgrounds will enhance the focus on your face. Ensure the environment aligns with the professional tone you aim to convey.
Comparing Multiple Shots
The best image can be identified by comparing multiple shots. Lay out your top picks and evaluate them side-by-side. Choose the shot that truly meets all the criteria for a professional headshot.
FAQs About How to Take a Professional Headshot With an iPhone?
The right apps and settings can make it easy for you to take professional headshots with your iPhone. Here are some frequently asked questions and their answers.
What iPhone App Can Take Headshots?
Pixelcut is an excellent app for iPhone headshots. It offers tools to enhance and perfect your photos effortlessly. Professional-quality headshots are easy with Pixelcut’s user-friendly interface.
What is the Most Effective Professional Headshot App?
PhotoDirector’s Portrait tool is the premier app for professional headshots. It offers advanced features like skin smoothing and lighting adjustments. Your headshots will look polished and professional.
What is Headshot Settings?
Use 400 or lower ISO for headshots. This setting reduces noise and ensures clear, sharp images. Lower ISO is a necessity for image quality.
How Can I Improve The Lighting For My Headshots?
Use natural light from a window or spend time outdoors during golden hour. This soft light reduces harsh shadows and enhances your features. You can also balance light with reflectors.
What Background Should I Use For Headshots?
Choose a simple, uncluttered background to keep the focus on your face. Solid-colored walls or natural settings work well. Your headshot can be distracted by busy backgrounds.
How Can I Make My Expression Look Natural In Headshots?
Relax and take multiple shots to find your most appealing expression. You appear approachable and confident when you smile. Find a comfortable, natural look in front of a mirror.
Closing Idea
With the right approach, taking a professional headshot with your iPhone is straightforward. Start by finding appropriate lighting and choosing a simple, neutral background. Ensure you’re well-groomed and dressed appropriately.
Use the iPhone’s portrait mode for a polished look, and consider accessories like a tripod for stability. Typically, “How to take a professional headshot with an iPhone?” involves knowing the camera settings, composing the shot well, and taking multiple photos to find the right one.
Post-processing with apps like Snapseed or Lightroom enhances your images. With practice and attention to detail, your iPhone can produce impressive professional headshots.